This project came about as a need to have a web portal for our HR software installed in our break rooms. I needed a low budget, easy to deploy solution that anyone can use. The goals for the project were to have a web browser that allowed user access to only a few websites, a locked down browser, and an inability to access the OS. There are a ton of mini-PC's available at a wide array of prices. As a Windows admin, I was initially considering Windows 7 Pro in an effort to minimize OS creep across my systems. After examining the available mini-computers, I discovered that by the time I had a viable Windows 7 machine, I was looking at $350 or more minimum for the completed system hardware without the Windows license. The Android machines all had touch screen interfaces or seemed like they may be more of a hassle to work with than I'd like. I kept coming back to the
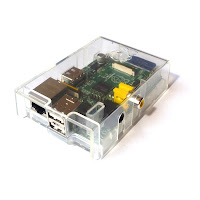
Raspberry Pi. I ended up purchasing the following:
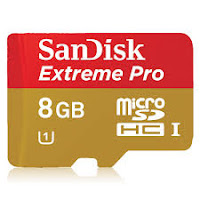 Hardware for the project:
Software for the Project: The CanaKit comes with a pre-loaded SD card that includes the same version of Debian Wheezy that I used for this project. However, in an effort to get a little more speed out of the system, I used the 95MB/s Sandisk extreme listed above. It seemed to help, but I did not bench mark it beyond observation.
Anyway, lets get down to building a Raspberry Pi Web Kiosk.Step 0: Get all of the hardware.
Step 1: Get all of the software.
Step 2: Assemble all your pieces. No need to insert SD card or Power cord at this point.
Step 3: Unzip the Raspbian package
Step 4: Use Win Disk Imager to write the image to the SD Card
Step 5: Insert SD card into Raspberry Pi
Step 6: Plug in your Raspberry Pi
Step 7: You will use the config tool screen to do the following:
- Expand File System
- Change Password (to something you can remember)
- Change Hostname (to something you can remember)
- Enable Boot to Desktop
- Define Keyboard Layout (select Type, Language, Layout, No to Alt-G, No to Compose, No to Ctrl-Alt-Backspace)
- Advanced > Enable SSH (if you want to be able to remote into it)
- Advanced > Overclock to Medium
- Notes on overclocking: High and turbo both corrupted SD cards. The Turbo issue is documented.
- Finish to reboot
Step 8: Changing the display configuration:
Once the desktop boots, launch the terminal window
If your display loaded properly, skip this step. Otherwise, we are going to customize the monitor settings. Do that by entering the following command.
sudo nano /boot/config.txt
The display I am using for this project is 24 inches. It loaded with black bars around the edges. For me I had to uncomment the overscan section and change the values to -50. I also uncommented hdmi_group=1 and changed hdmi_mode to equal 31. This sets it to 1080p. As a note, I turned overscan on, but it didn't change anything.
Step 9: Installing the programs we need:
You have to love how easy it is to install program son Linux. These are the commands to upgrade apt-get to the current version as well as download and install Chromium, x11-server-utils, and unclutter.
sudo apt-get update
sudo apt-get install chromium x11-xserver-utils unclutter jwhois dnsutils
Step 10: Setting up the Web Kiosk portion
The goal here is to get the Raspberry Pi to boot into Chromium which is displaying your desired web page. You'll need to edit the Auto start script to get this to work. To do this, enter the following command:
sudo nano /etc/xdg/lxsession/LXDE/autostart
Add a # before @xscreensaver to comment out (turn off) the screen saver and a # in front of the @lxpanel line.
add the following lines:
@xset s off
@xset -dpms
@xset s noblank
Step 11: Disable keyboard shortcuts
Next we need to edit ~/.config/openbox/lxde-rc.xml
You can either use nano or navigate to it through the file manager and use Leafpad. The editing is extensive, so I preferred Leafpad.
Don't forget to back this file up in case you screw it up.
Find the sections <Desktop>
Change <number> from 2 to 1
Remove the line that is <name>2</name>
Navigate to the Keybindings section.
Here we will be removing all the keyboard shortcuts. You can also download my pre-configured file.
I changed all keybindings, except Alt-F4, to not work.
I simply copy and pasted over the existing <action> content in all keybindings using this line:
<action name="Execute"><command>false</command></action>
I also added Chromium shortcuts so I could null them out. There are about 30-40 of them. See
the pre-configured file for the full list.
I left Alt-F4 active so that if you made a typo it would be easy to exit Chromium and edit the file.
Step 12: Disabling Right Click in Raspbian / Debian
The xmodmap command in to the autostart file disables right click by remapping the middle and right buttons to non-existent keys (assuming you have a 3 button mouse)
Even so, by editing /etc/xdg/openbox/menu.xml and clearing out all the items between the <menu> tags, you can eliminate the desktop context right click menu if you so desire. I could find no way, aside from xmodmap, to disable right click on desktop icons or in Chromium. Ultimately, I could get away with disable the right click key. If you know how to suppress the right click menus or selectively define them, please let me know with a comment below.
You also already disable the menu bar by commenting out the lxpanel in the auto start script. If you need that, go remove the # sign from in front of lxpanel line in the auto start script.
I tried wiping out the bindings in the lxde-rc.xml file to eliminate right click, but it didn't make a difference. The xmodmap remapping was the only way to completely disable right click altogether.
If you have a solution, please comment below.
Step 13: Disabling all web pages but a few select onesI am going to discuss my attempt to use iptables to do this in the next paragraph so that someone out there can tell me what I was doing wrong. However, I ended up downloading and installing
Whitelist for Chrome. Then selecting the checkbox to deny all sites except approved ones. Then I added the few sites I needed.
Now, the reason you had
dnsutils and
jwhois in your
apt-get command earlier is so that we could figure out which ip address you needed to add to the iptables. I couldn't this to work. I also couldn't get
whois to work as it kept telling me "command not found." That is where
jwhois comes in.
I had 3 static web pages that I wanted to approve. I used the following iptable commands:
sudo iptables -A INPUT -i eth0 -s <destination-ip-address1>/32 -m state --state RELATED,ESTABLISHED -j ACCEPT
sudo iptables -A INPUT -i eth0 -s <destination-ip-address2>/32 -m state --state RELATED,ESTABLISHED -j ACCEPT
sudo iptables -A INPUT -i eth0 -s <destination-ip-address3>/32 -m state --state RELATED,ESTABLISHED -j ACCEPT
Sudo iptables -A INPUT -p all --destination xyz.com -m state --state RELATED,ESTABLISHED -i eth0 -j ACCEPT
sudo iptables -A INPUT -p all --destination 0/0 -m state --state NEW -i eth0 -j DROP iptables-save > /etc/iptables.confsudo nano /etc/rc.local then add the line
iptables-restore < /etc/iptables.congStep 14: Install Flash player for Chromium (if you need it)There are lots of forums on how to install flash for Chromium. All the advice there didn't help me. The forums basically said you should be able to type
sudo apt-get install flashplugin-nonfree and if you got an error you needed to update your install location repositories.
I just googled adobe flash, clicked on the get flash player now button, downloaded the tarball, extracted it, and moved libflashplayer.so to /usr/lib/chromium/plugins. Didn't see that advice in any forums, so I wanted to share it with you.
Other notes:
- To get back to the Raspi configuration menu just type: sudo raspi-config
- If you use Vim to edit files, you can overwrite a read-only file by using this command: :w !sudo tee %
- Turbo mode will corrupt our SD card (I had it happen in High mode also)
- To backup your image, use Win32DiskImg and click read instead of write.
- How to create a desktop icon that will launch google in chromium:
- I couldn't find this exact instruction anywhere else either, so I hope it helps:
- Fire up your command line and type: sudo nano /home/pi/Desktop/google.desktop
- In the file, type the following:
[Desktop Entry]
Type=Application
Name=Google Shortcut
Comment=Launches Google in Chromium
Icon=location of a google icon you saved somewhere
Exec=/usr/bin/chromium
http://www.google.com 3. Press ctrl+x to begin exit, select Y to Save.
4. File will appear on your desktop.
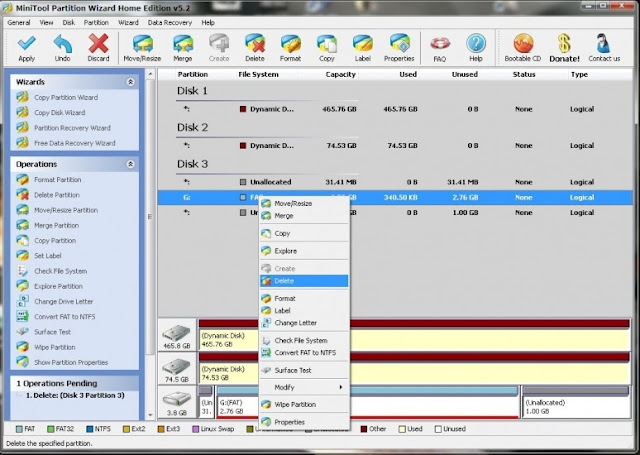 This tool is compatible with Windows 2000/XP/Vista & Windows 7
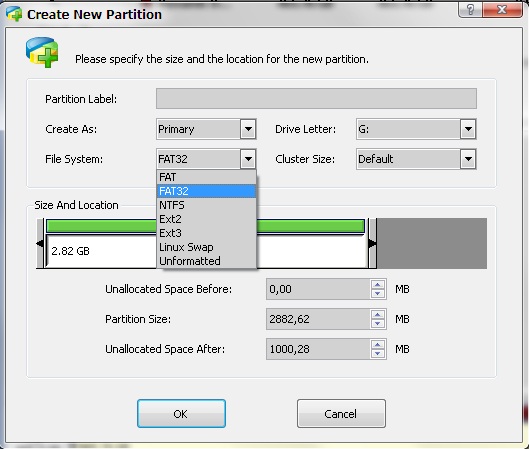
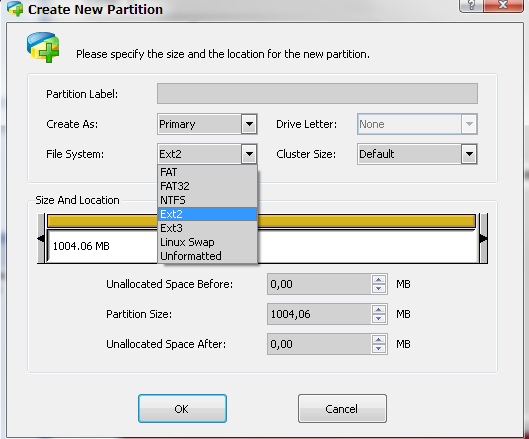
 This tool is compatible with Windows 2000/XP/Vista & Windows 7


